
If you don’t already have an account with Wise, simply register using their multi-currency account (called “borderless) here. This is a free process, although you may be asked to make an opening deposit of around £20 GBP. This is to verify your identity, and is not a fee – the money they are asking for will be in your account, and you can withdraw it, together with the money that Brandpa will be paying you.
Having said that, there might be a set-up fee if you’re setting up your Wise account as a business. If this is the case, the fee will not be refundable. Please let us know and Brandpa will be happy to cover for you this one-off fee* (update: 4 Jan 2023: Please set up an account with Wise when you sell a domain name with us. There is no need to have an account set up earlier. Brandpa will not cover any Wise fees if you’ve never sold a domain name with us).
You can be based outside of the UK to set up your GBP account. When you received the GBP amount in your account, you’ll be able to simply convert this amount to your currency.
The steps on how to set up your GBP currency are below. Do not be intimidated by the number of steps 🙂 The process is very smooth and quick 🙂
Once your account is set up, there should already be at least one currency set up for you. What you need is add a GBP currency. You’ll probably need to be verified first (before you can actually provide us with your GBP account details).
Getting verified
If you already have a GBP currency in your Wise account, go to After your GBP account is verified point.
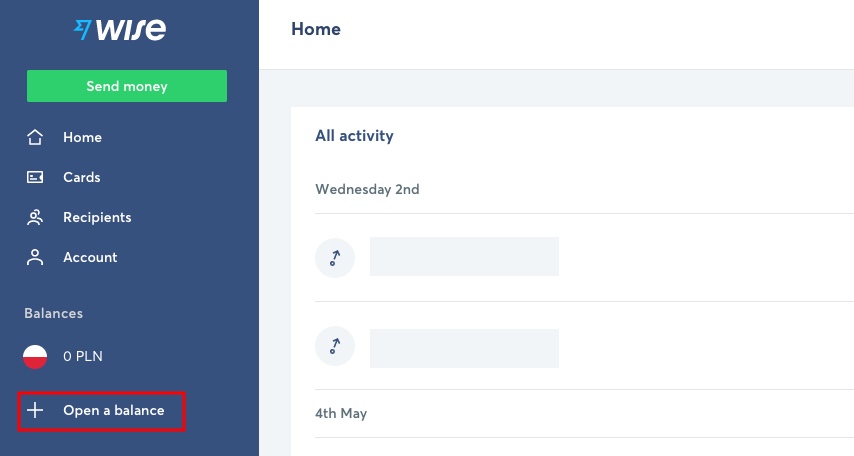
1. Click on Open a balance option underneath the current currency you already have in your account:
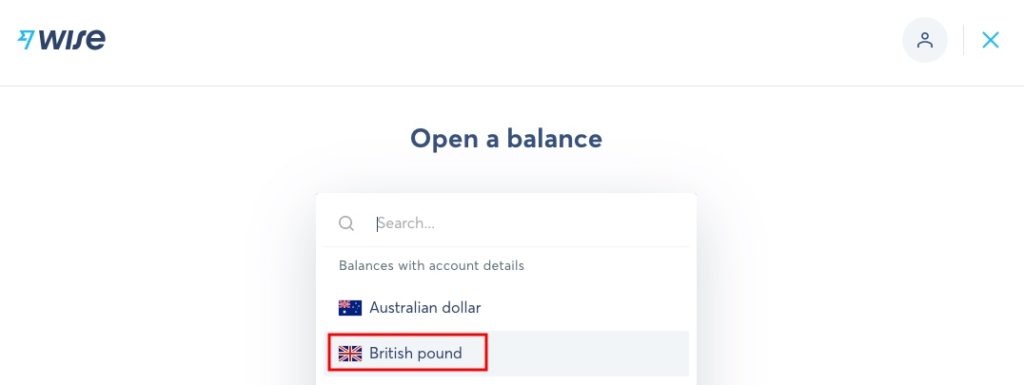
2. On the new page—under Open the balance title, select the British pound currency from the drop-down:
3. With this option selected, Wise clarifies what details you will get as the new GBP account holder:
Your GBP balance comes with a sort code and account number.You’ll be able to share these with people who want to send GBP to you.
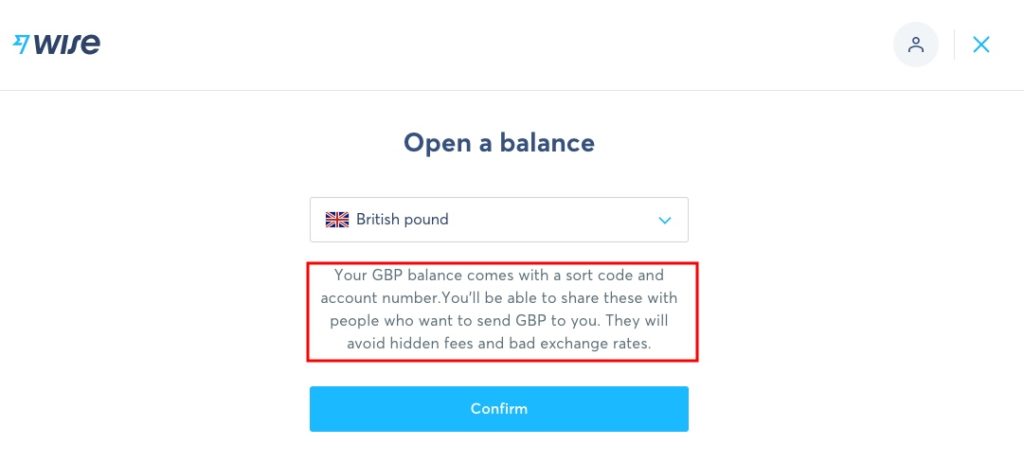
4. Click on the Confirm button. You’ll then be taken to your GBP currency page in Wise:
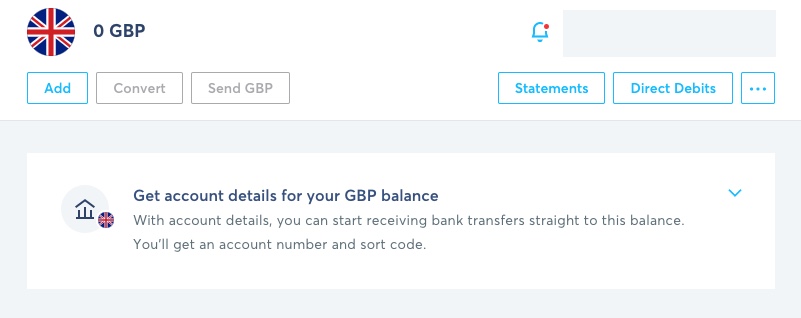
5. Expand this card (by clicking on the down-arrow) and click on the Get account details button:
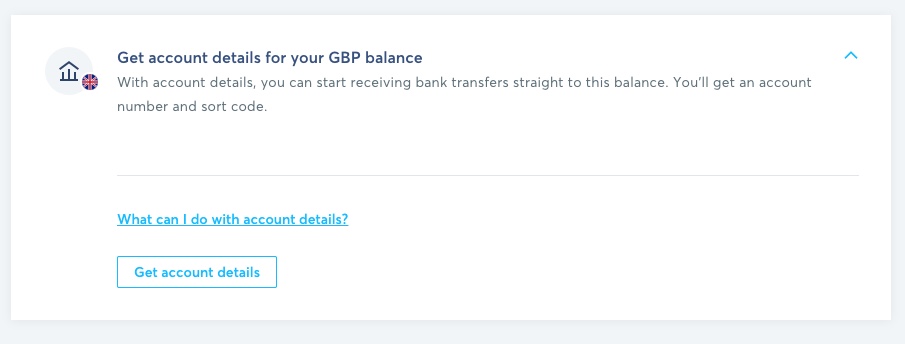
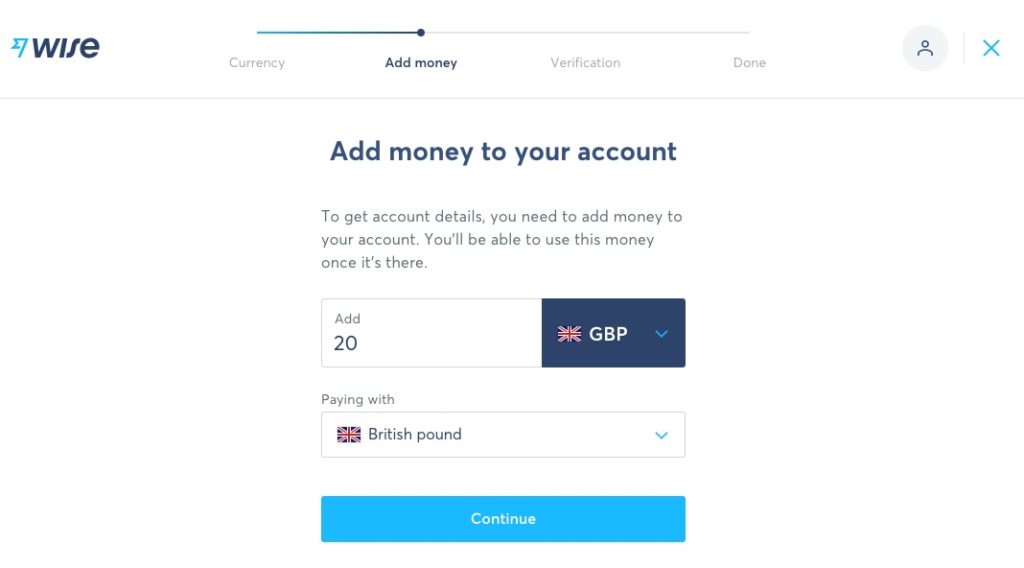
6. You’ll need to be verified in order to get your new account details. To do so, Wise will ask you to add £20 to your new account (or an equivalent of £20 in your own currency). Please note: this is not a setup fee. This amount is paid in just to verify you:
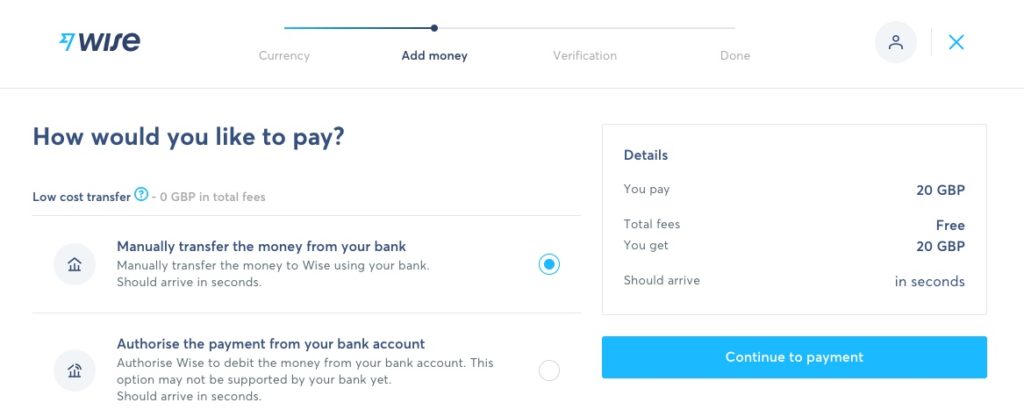
7. Choose how you’d like to pay. The best ways to transfer the amount is either manually from your bank or by authorising it from your bank account:
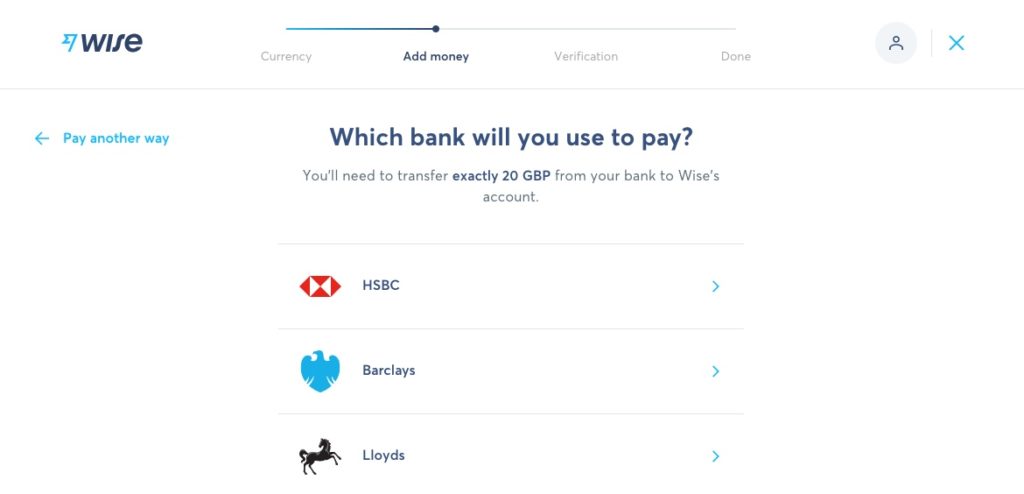
8. These next steps depend on your previous selection. Assuming you chose “Manually transfer the money from your bank”, you’ll be asked to choose the bank you’re paying from:
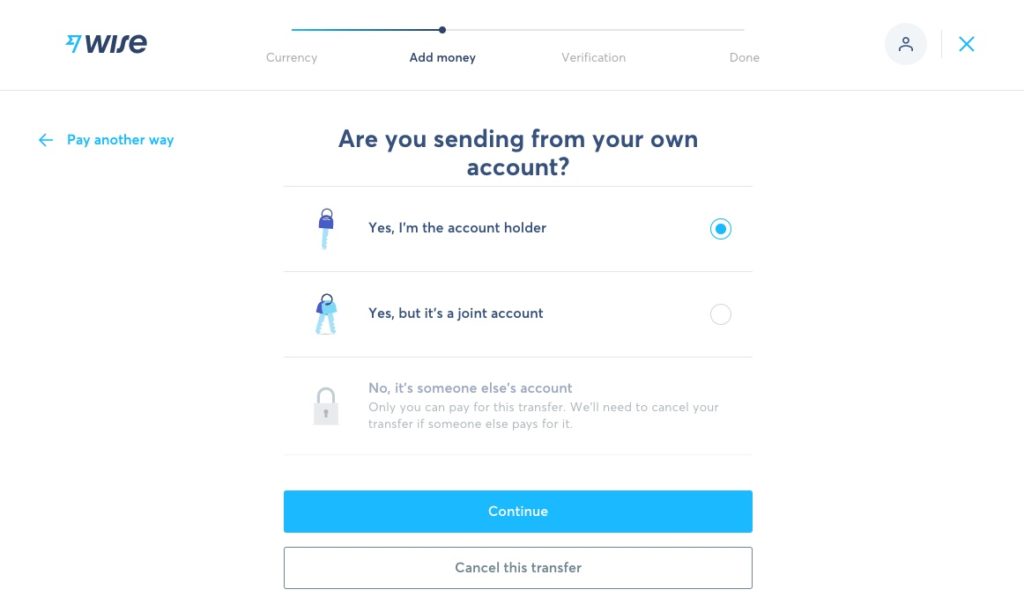
9. Select whether you’re sending the amount from your account as its holder or not (if you choose “It’s a joint account”,you’ll need to provide the other person’s name) and press on the Continue button:
10. Select how you’ll make the transfer:
11. Make the transfer by using the details provided by the next page. After this step, it might take 1-3 days for your account to be verified with Wise. You should receive an email from the Wise team confirming this have happened.
After your GBP account is verified
When your GBP account is verified, you should be able to obtain your sort code and your account number from your GBP currency page in Wise. You want to look under the tab “Inside the UK” for payments for your sort code and your account number:
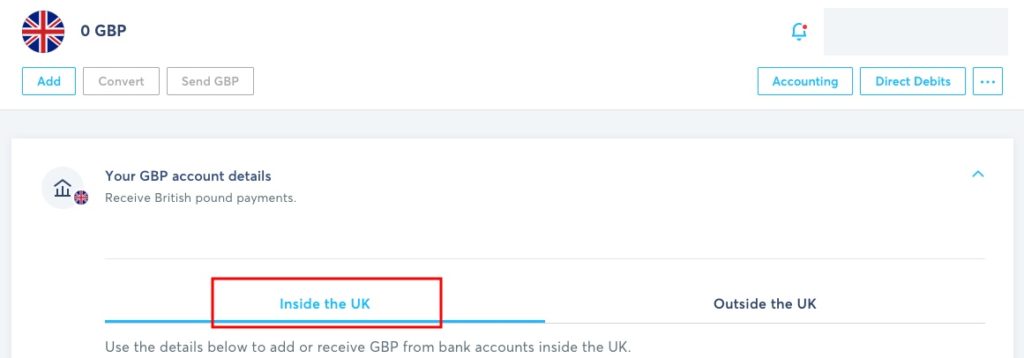
Your sort code is 6 digits long and us separated by hyphens, e.g. 11-22-33. Your account number has 7 or 8 digits, e.g. 12345678. Copy and paste those details—together with the recipient’s name—into the fields provided by Brandpa. Those details will be used to make the payment to you in GBP.
If you have any questions, please let us know by submitting a ticket.